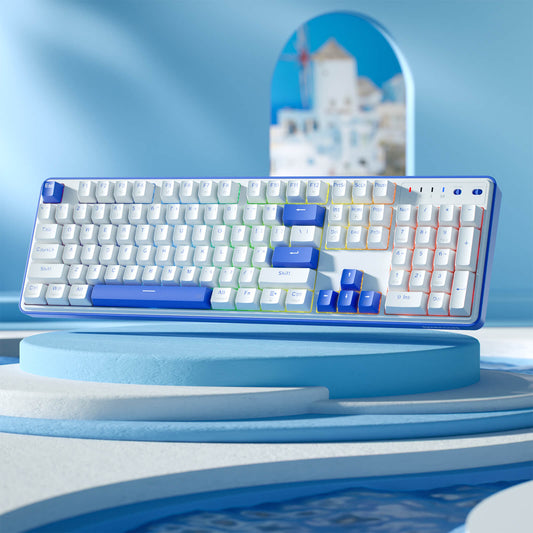


Mechanical keyboards offer a superior typing experience and customization potential compared to their membrane counterparts. However, to truly optimize your mechanical keyboard for comfort, performance, and aesthetics, you'll need to delve into the art of tuning. In this comprehensive guide, we will explore the fascinating world of mechanical keyboard tuning, whether you're aiming for a silent, office-friendly keyboard or a clicky, tactile beast for gaming and typing, we've got you covered.

By the end of this guide, you'll have the knowledge and skills to transform your mechanical keyboard into a personalized masterpiece that not only looks stunning on your desk but also provides an unparalleled typing experience tailored to your preferences. So, let's embark on this journey of discovery and refinement as we unlock the secrets to optimizing your mechanical keyboard to perfection.
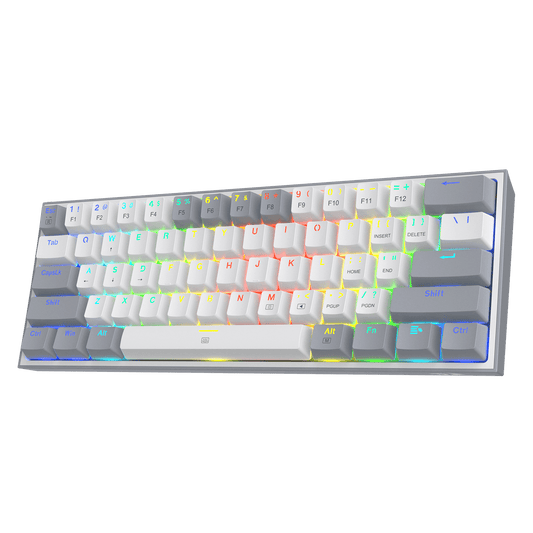
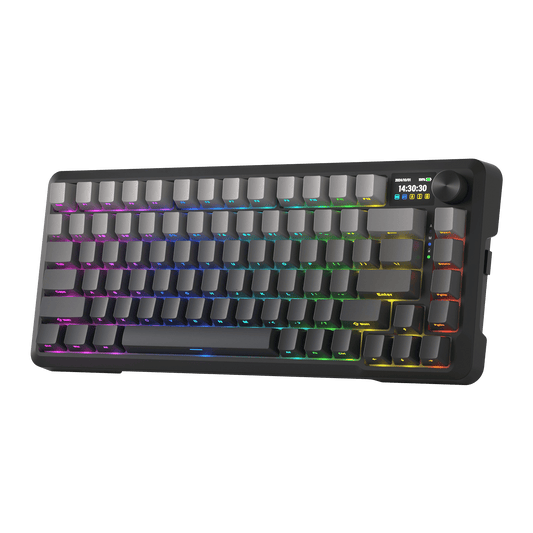
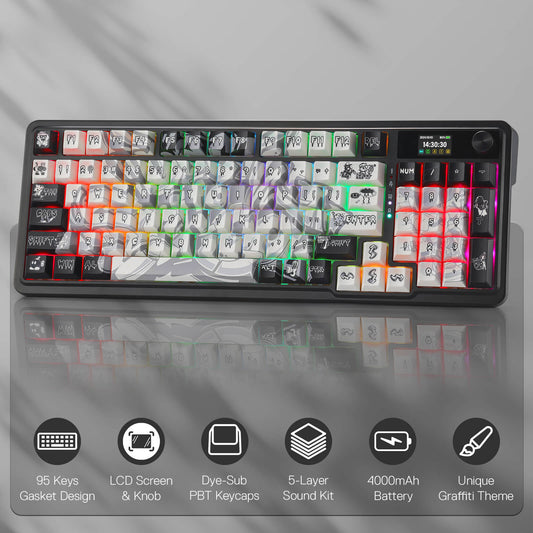
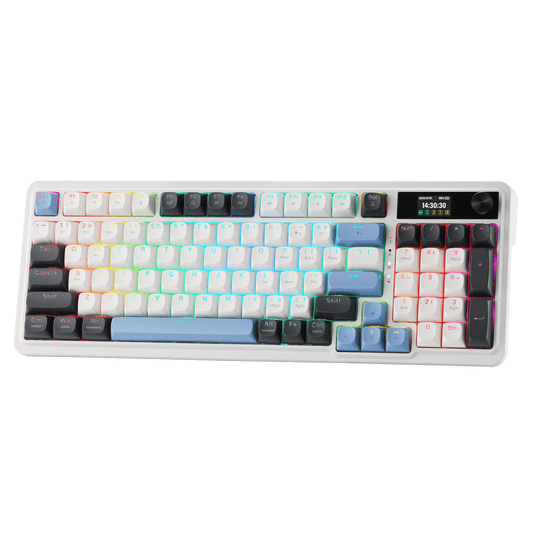
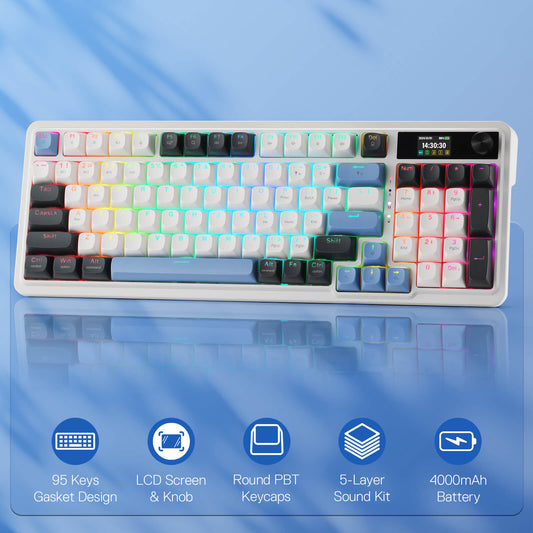
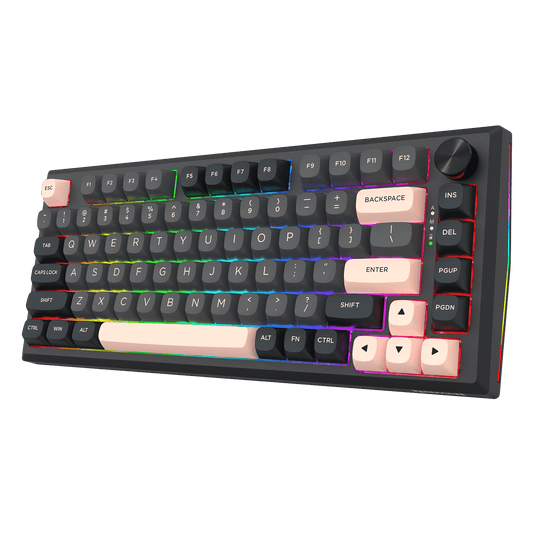
A modded keyboard, short for a "modified keyboard," refers to a mechanical keyboard that has undergone customization or changes from its original factory setup. These modifications are made to enhance the keyboard's performance, appearance, or functionality according to the user's specific preferences. Modifying a keyboard usually involves making alterations to various components such as switches, keycaps, stabilizers, and sometimes even the keyboard's firmware or layout.

These are some common alterations or customizations that can be applied to a modded keyboard:
Customizing a keyboard through modding empowers enthusiasts to tailor their typing experience precisely to their liking. The outcome is a keyboard that perfectly matches their individual preferences and requirements, often resulting in a unique and standout keyboard that goes beyond standard, store-bought options.

Modifying a mechanical keyboard can offer a range of benefits and advantages tailored to individual preferences and needs. Here are some common reasons why people choose to modify their mechanical keyboards:

This customization is driven by a desire to align the keyboard with our personal preferences. For instance, some users prefer a keyboard with almost effortless keystrokes, often achieved by installing a "speed" switch, typically identifiable by its silver color. These switches require minimal stem travel before registering a keypress and are paired with a light spring for easy actuation. On the contrary, others, including myself, favor a more robust tactile switch that demands greater force to depress. The advantage of such switches lies in their reduced likelihood of accidental keystrokes, as they necessitate a deliberate commitment to actuate.
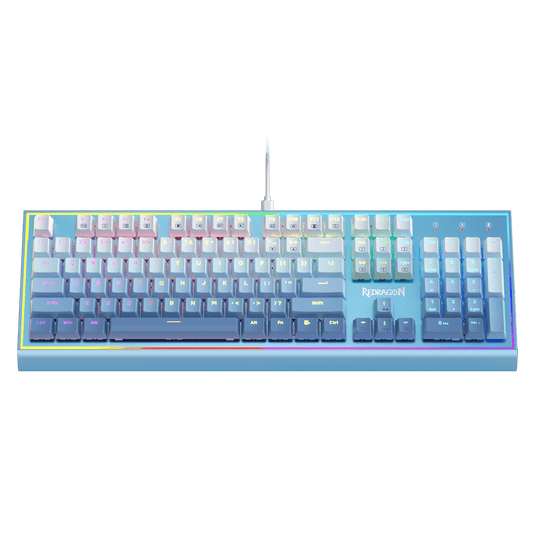
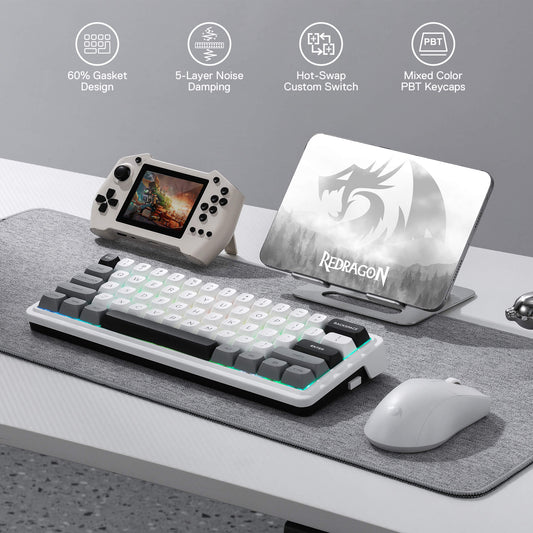
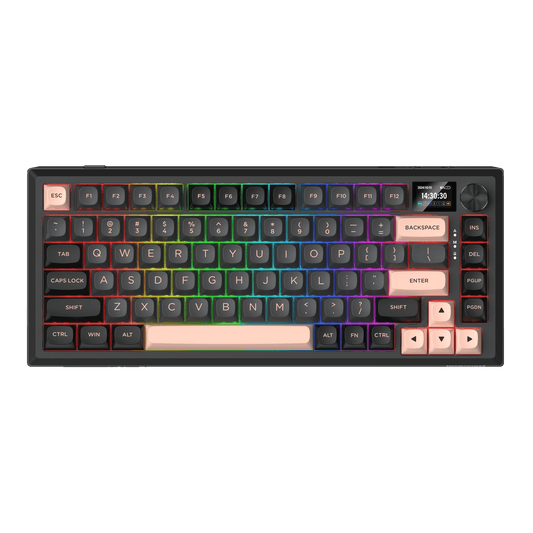
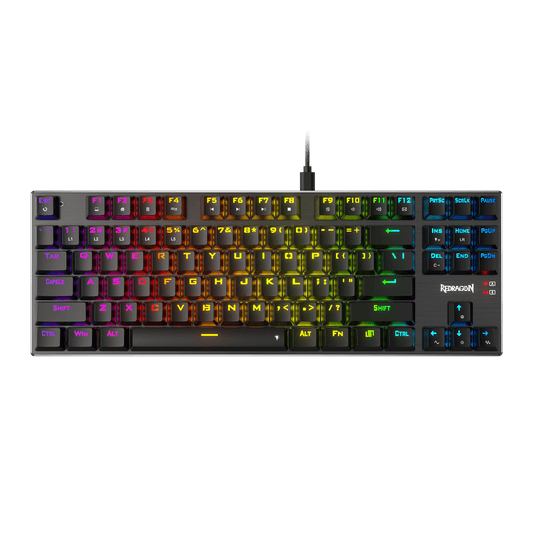
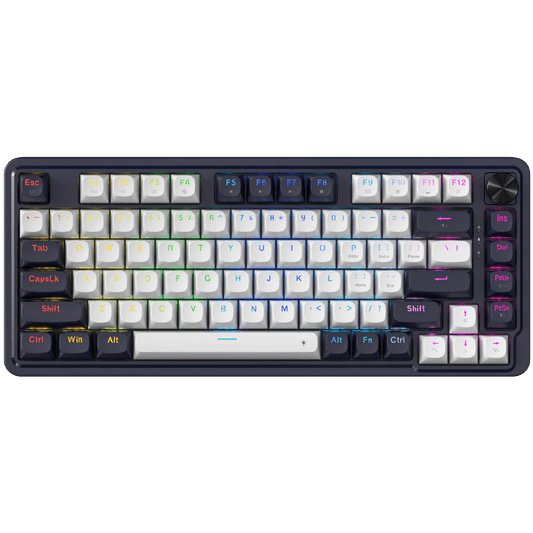
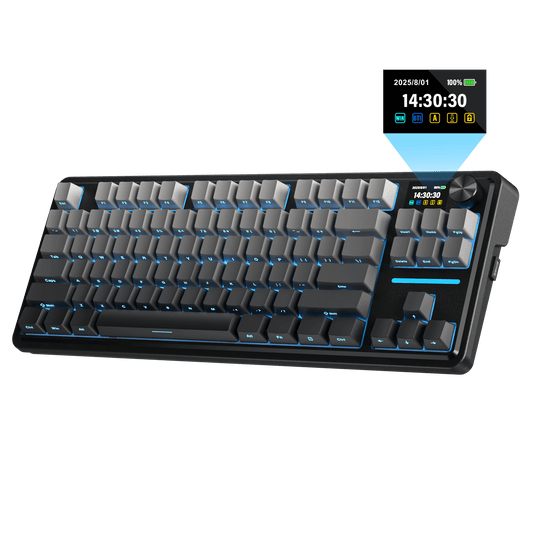
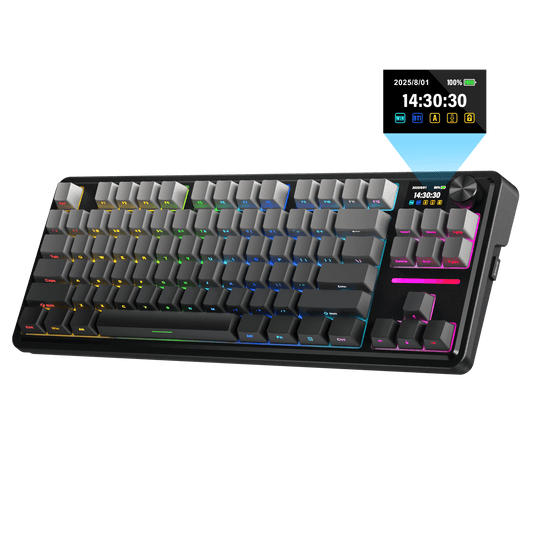
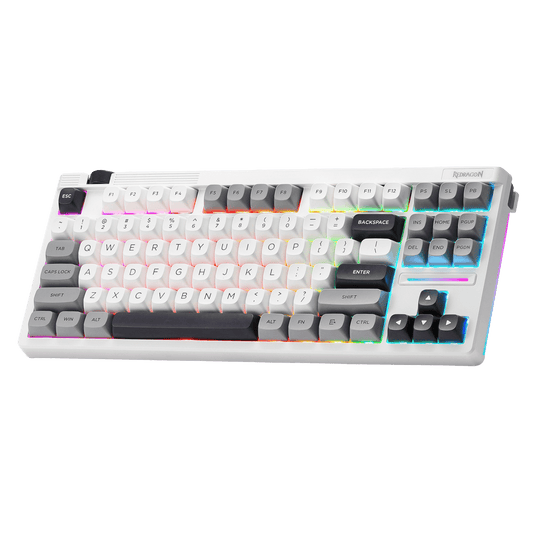
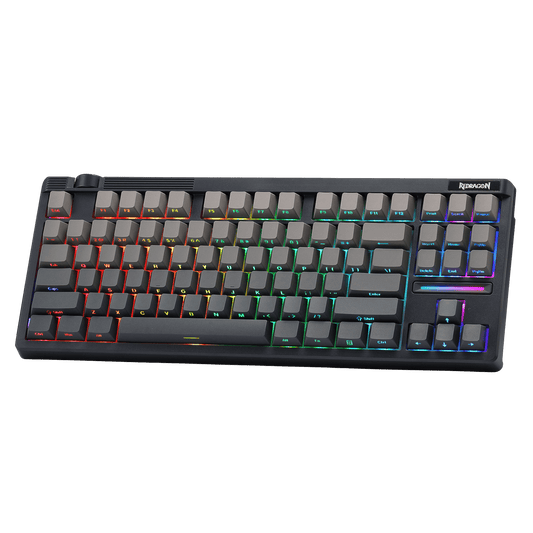
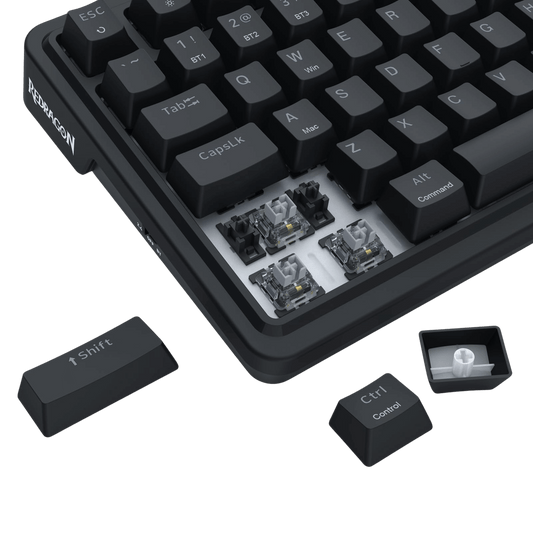
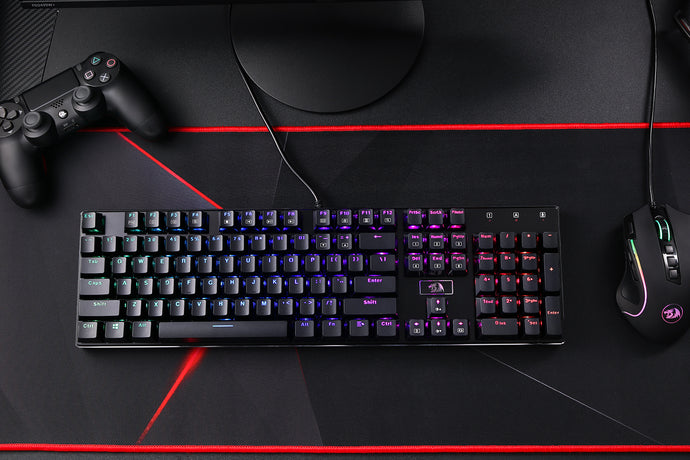
In the keyboard market today, you can find a variety of options catering to enthusiasts who wish to enhance their typing experience. Brands like Redragon design keyboards with the intention of allowing users to perform modifications, thus making them even better than their original configurations. Additionally, there are keyboards available that come pre-equipped with popular modifications right out of the box, ensuring users can immediately enjoy a tailored typing experience without the need for further adjustments.

Modifying a mechanical keyboard can be a rewarding endeavor, but it's essential to consider the associated risks and factors before diving into the world of keyboard customization. Below, we've outlined important risks and factors to bear in mind:
Modifying a regular or non-mechanical keyboard is possible to some extent, but it's important to note that the level of customization and the types of modifications you can make are limited compared to mechanical keyboards. Here are some common modifications you can consider for a regular keyboard:
However, there are limitations to what you can do with a regular keyboard:

Modifying a mechanical keyboard allows you to tailor it to your specific preferences for aesthetics, typing feel, and performance. Here are some common modifications you can make:
1. Upgrade Your Keycaps:
Redragon's blog post dives into the diverse world of custom keycaps, offering valuable insights for those looking to personalize their keyboards. Let's explore the key aspects of choosing and replacing keycaps.
The Visual Impact of Keycaps
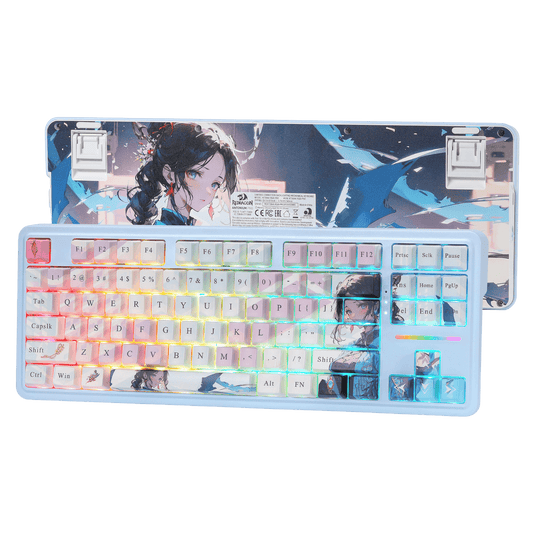
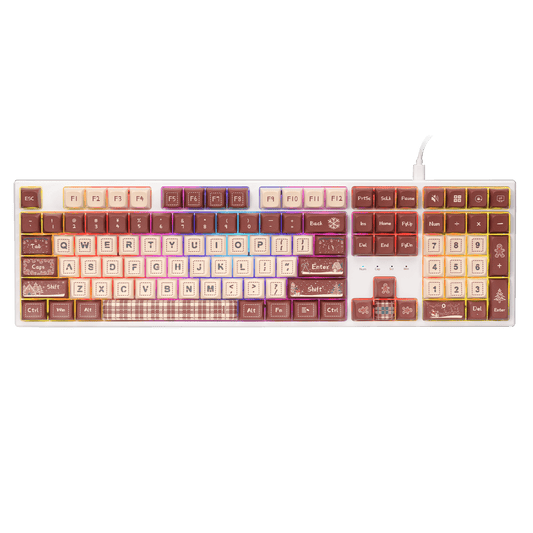
Keycaps are the most noticeable feature of a keyboard. While the case frames the overall look, the keycaps are what you interact with and see the most. When selecting keycaps, consider their translucency, especially for backlit keyboards. Some keycaps are designed to allow light through the sides, others evenly diffuse light, while some only illuminate the legends (the characters on the keys). Beyond functionality, there's a wide range of aesthetic choices, from novelty designs encased in resin to keycaps themed around popular memes.
Design, Material, and Texture Variations
Keycaps come in a plethora of designs, colors, textures, and materials, each affecting not just the keyboard's appearance but also its sound and tactile feel. Heavier keycaps might facilitate easier key presses but could be slower to return to their original position if too heavy. They might also absorb more sound, leading to a quieter typing experience. You can even find keycaps with unique textures, like velvet, for a distinct touch.
Fitting and Compatibility
Most keycaps have a plus-shaped hole on the underside, fitting snugly over the switch's plunger. Larger keys, such as the spacebar, come with additional sockets to accommodate stabilizers, ensuring consistent action across the key's surface.
Removing and Replacing Keycaps
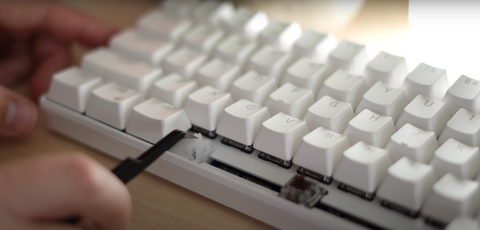
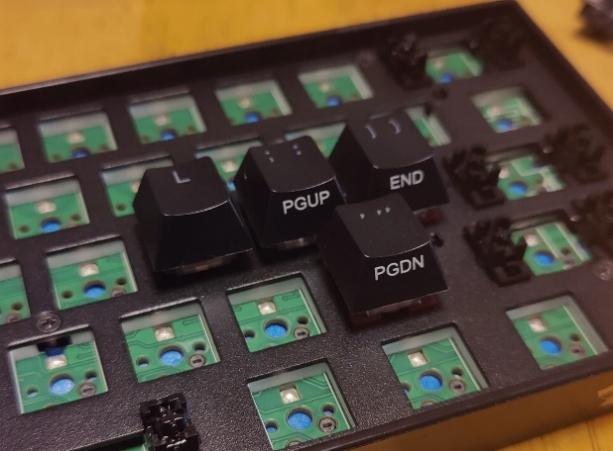
For keycap removal, a keycap puller is essential. These tools vary in design and quality, with higher-end wire pullers being a worthy investment. They securely grip the keycap from underneath, minimizing the risk of damage, especially to softer plastic keys. To remove a keycap, slide the puller down over it until it hooks under the cap, then pull straight up. In some cases, the switch might come up with the keycap, which can be easily reinserted into the keyboard.
A Tip for Keycap Replacement
When replacing keycaps, it's a good practice to take a photo of your keyboard layout beforehand. This reference can prevent confusion about where each keycap belongs, avoiding mix-ups like swapping the "+" and "-" keys. As someone who has made this mistake, I can attest to the usefulness of this tip, even for touch typists.
Choosing the Right Keycap Puller
There are typically two types of keycap pullers: a more common red plastic one and a superior black handle wire puller. The wire puller is preferable for its gentle yet secure grip, especially important for delicate or expensive custom keycaps. If you're investing in high-quality keycaps, opting for a better puller is a small but significant step to protect your investment.
Installing New Keycaps
Once you've chosen your new keycaps, installation is straightforward. Press them firmly onto the switch, ensuring they slide on securely. This simple process can dramatically transform your keyboard's look and feel.
Note on Switch Pullers
The metal horseshoe-shaped tool mentioned alongside the red keycap puller is a switch puller, which will be covered in more detail in a separate section. This tool is specifically designed for safely removing switches from the keyboard.
In summary, customizing your keyboard with unique keycaps is an exciting way to personalize your typing experience. With the right tools and knowledge, switching out keycaps can be a simple yet impactful modification.

In the dynamic landscape of mechanical keyboards, switches play a crucial role in defining the typing experience. Redragon's blog post delves into the intricacies of different switch types, each harboring unique qualities. Let's explore these types further.
Clicky Switches: The Audible Performers
Clicky switches are renowned for their distinct audible click upon actuation, signaling the completion of an electrical circuit. These switches are known for their tactile feedback, though some variants may offer a more linear feel. They are the noisiest among switch types, favored by gamers for the instant audio feedback correlating with the circuit completion.
Tactile Switches: The Quieter Cousins
Tactile switches offer a quieter typing experience compared to clicky switches. They contain an internal component that adds resistance, noticeable as a ridge during actuation. This resistance point allows for a smooth bottoming out of the key if desired. Combining tactile with clicky switches can create a unique experience, offering both tactile and audio feedback - ideal for gaming keyboards that demand precision input and feedback.
Linear Switches: The Smooth Operators
Linear switches are characterized by their consistent feel from the start of the press to bottoming out. Unlike membrane keyboards, they actuate around the halfway point without the resistance of tactile switches or the sound of clicky switches. The actuation is typically silent, with the computer response being the only indicator of a successful keypress. Linear switches are often favored for typing due to their ease of pressing.
Beyond Switches: Keycaps and Foam Gaskets
The sound of a keyboard is influenced not just by the switches but also by keycaps and other components like foam gaskets. These gaskets, placed between the keycaps and the backplane, can further dampen sound, especially in combination with linear switches, potentially creating a near-silent keyboard. However, custom-fitting these gaskets can be a challenging yet rewarding task for keyboard enthusiasts.
Redragon offers a variety of switches, each with its resistance level:
Brown switches are a common inclusion in mechanical keyboards due to their balanced tactile feedback, neither too noisy nor too quiet, and are widely regarded as pleasant to type on.
Switch Replacement and Modification Tips
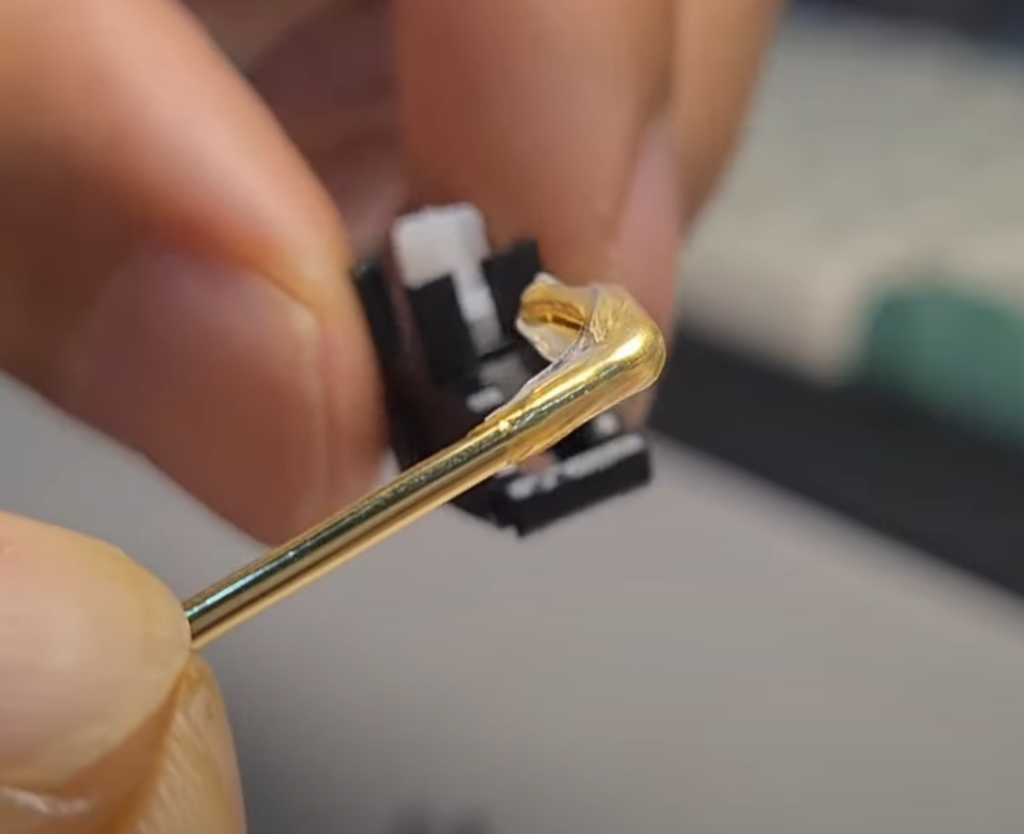
When replacing switches, using a switch puller is essential. This tool, often included with new switches like those from Redragon, helps remove switches safely. It's vital to pull straight up to avoid bending the pins. Compatibility with 3 or 5-pin backplanes is another consideration, with the possibility of modifying 5-pin switches to fit 3-pin configurations.
For enthusiasts looking to further modify switches, lubrication is a common approach. It can enhance smoothness but may also reduce tactility if overdone. Excess lubricant can be removed with rubbing alcohol. Tools like switch openers are handy for such modifications, allowing users to access and alter the switches, including converting tactile switches to linear or applying lubricants for smoother action.
In the realm of keyboard customization, beyond the well-known switches, there's a world of stabilizers available. These components, much like switches, can be modified to suit your specific preferences and needs. A key aspect of stabilizers is their design where pressing one stabilizer often activates another, courtesy of a connecting bar. This ensures that large keys, typically those with a switch in the middle, press down evenly and activate the switch consistently regardless of where you press.
The Art of Lubricating Stabilizers
A common practice in stabilizer optimization is lubrication. Applying lube to the stabilizers facilitates a smoother movement, enhancing both the upstroke and downstroke of the key. However, it's crucial to tread lightly with lubrication. Over-lubrication, or using a lube that's too thick, can lead to a gummy mechanism, causing keys, especially wider ones like the spacebar, to stick.
A Practical Approach to Lube Application
When lubricating stabilizers, it's advisable to start with a very thin layer. This can prevent the issues associated with excessive lubrication. If you encounter a situation where a key sticks due to over-lubrication, a simple solution is to use rubbing alcohol. This can help remove some of the excess lube. Starting fresh after this cleaning process can make a significant difference.
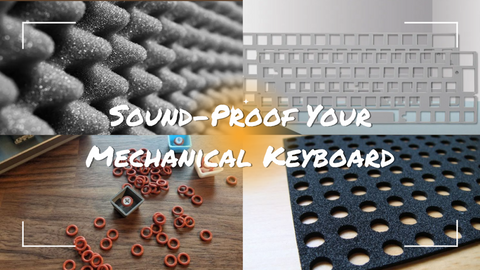
In the world of keyboard customization, enthusiasts continuously seek methods to refine their typing experience. One prevalent approach is enhancing the keyboard's auditory profile. While the choice of switches plays a pivotal role in defining the sound, the keyboard case can often be a source of undesirable noise. This noise may manifest as echoes, harsh pings, or sharper tonal qualities.
Effective Solutions for Sound Optimization in Keyboards
To combat these auditory issues, two popular modifications are widely employed. The first involves integrating sound-dampening foam within the keyboard's case. The second, known as the "tape mod," is a simpler but effective technique.
The Role of Sound-Dampening Foam in Keyboard Acoustics
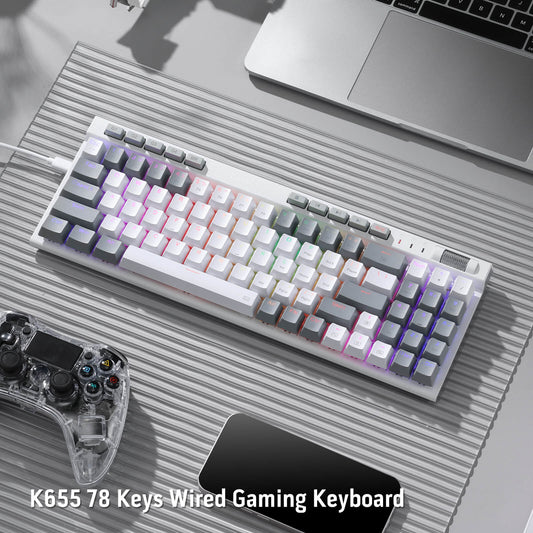
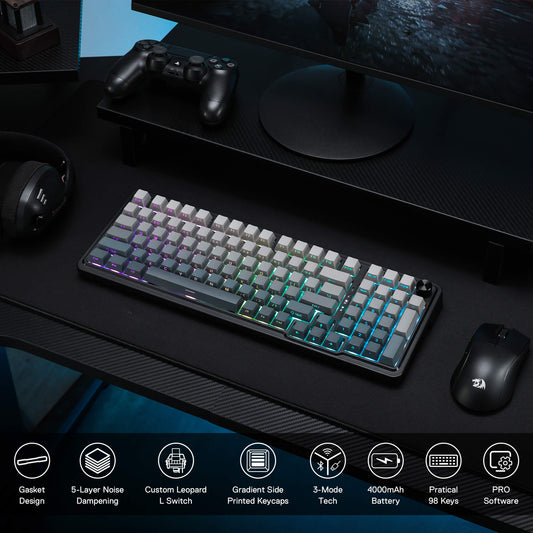
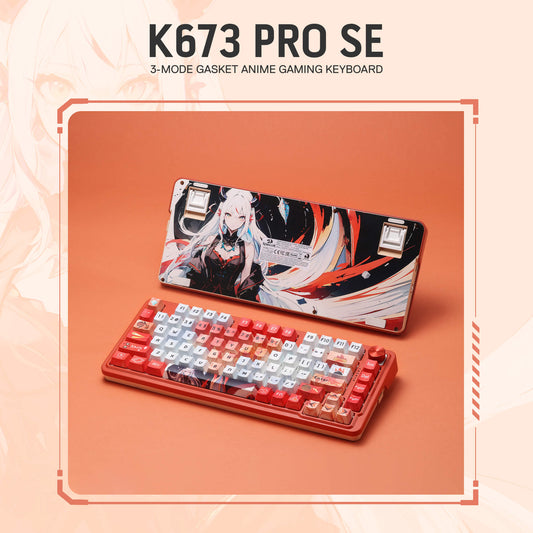
High-quality keyboards like the Redragon K673 Pro often include pre-installed foam, designed to mitigate excess sound. However, enthusiasts seeking a personalized sound profile may opt to add extra foam. This not only tailors the acoustic output to personal preferences but also enhances sound dampening. When adding foam, it’s advisable to use the existing foam as a template for tracing and cutting. This ensures a perfect fit, especially in cases with complex internal structures like standoffs and batteries.
Budget-Friendly Modifications for Improved Keyboard Sound
One cost-effective solution for sound dampening is utilizing the packaging foam that comes with the keyboard. It's essential to ensure that the selected foam is safe and non-conductive, particularly if it contacts the keyboard's PCB. This precaution is crucial to avoid short-circuiting the keyboard or, in extreme cases, causing a battery fire.
The Tape Mod: A Trending Sound Enhancement Technique
Popularized by the Youtuber "Tempest," the tape mod is an increasingly popular method for reducing hollow sounds in keyboards. This mod involves applying multiple layers of tape, preferably painter’s tape for its reversibility, to the underside of the PCB. Care must be taken to accommodate any wires or cables. This mod not only refines the sound but also serves as a protective layer against metallic-backed foams.

A custom USB cable can add a unique touch to your keyboard setup. You can find a variety of colors and designs for USB cables.
Steps:
Remember to carefully research and follow specific instructions for your keyboard model, as the modification process can vary. Additionally, consider the compatibility of the keycaps, switches, and other components with your keyboard before making any modifications. Modifying your mechanical keyboard can result in a personalized and satisfying typing experience tailored to your preferences.

Step 1: Choosing the Right Switch
My go-to mods for a new keyboard that just doesn’t quite feel exactly how I need it to are first the switches. In my honest opinion, the switches in the keyboard are the most crucial component that makes the largest impact on if someone will like their purchase.
Follow this guide to decide on a style of switch. You’ll also need a selection of tools and materials on hand. A quality switch opener for cherry and Kailh style switches will make your life easier. A decent wire keycap puller will preserve the finish of your keycaps. A lube brush, stem holder and lubing station can often be purchased as a kit.
Step 2: Recommended Switches
I’ll also link some of my personal favorite switches.
Step 3: Lubricating Your Switches
After finding a switch you’re fond of, (I used the Bullet-S A113 Silver for this article) you can take it a step further and lube them if they didn’t already arrive pre-lubed. When lubing a switch take note of the style of switch it is as the process is slightly different depending on if it's a linear or a tactile for example. Linear switches you can lube the entire stem whereas on tactile and clicky switches, you want to avoid getting any lube on the small legs of the stem as that will mute the tactile bump and/or click. You only need a slight layer of lube on the stem and bottom housing. Just enough to where you can see the clear sheen on the plastic but not enough to where the lube is white. If you see the color of the lube on the components, you’ve put too much.

Step 4: Upgrading Keycaps
After lubing your switches, swapping your keycaps to a higher quality and normally thicker walled keycap will help dial in the sound profile you’re after. Most people prefer keycaps between 1.2mm and 1.5mm thick. Keycaps also come in a wide variety of profiles so it may take you a couple tries to find the perfect shape. Take a peak at this guide to help make an informed decision. I kept most of the stock keycaps from my K617 since it matched the theme well and just added some accent pieces.


Step 5: Stabilizers: Modify or Replace
After deciding on a new keycap set, you will take a look at the stabs. Sometimes you can get a better result by simply replacing the stock stabs with reputable aftermarket ones. Other times you can simply modify your stock ones by clipping the extra feet on the stabs and lubing them with dielectric grease. You can also take it a step further by doing the Holee mod with a few pieces of fabric bandaid.

Clipped feet on the left, stock on the right. The second image is what your stabilizer bar should look like after dipping it into the tube of dielectric grease.
Step 6: Adding neoprene rubber sheets and PE foam
Start by unplugging your computer or removing the keyboard's batteries if it's wireless.
Step 7: Stabilizers: Modify or Replace
Next up if your keyboard is like mine and doesn' t have any sort of dampening inside, you can add your own to the bottom casing. I used some black neoprene rubber sheets that have adhesive on one side. Cut to size and then stuck into the bottom of the keyboard. Doesn' t need to be perfect or to cover every inch of space. All we' re trying to do is make the board sound less hollow by taking some of the open space away so there's less room for sound waves to bounce around.
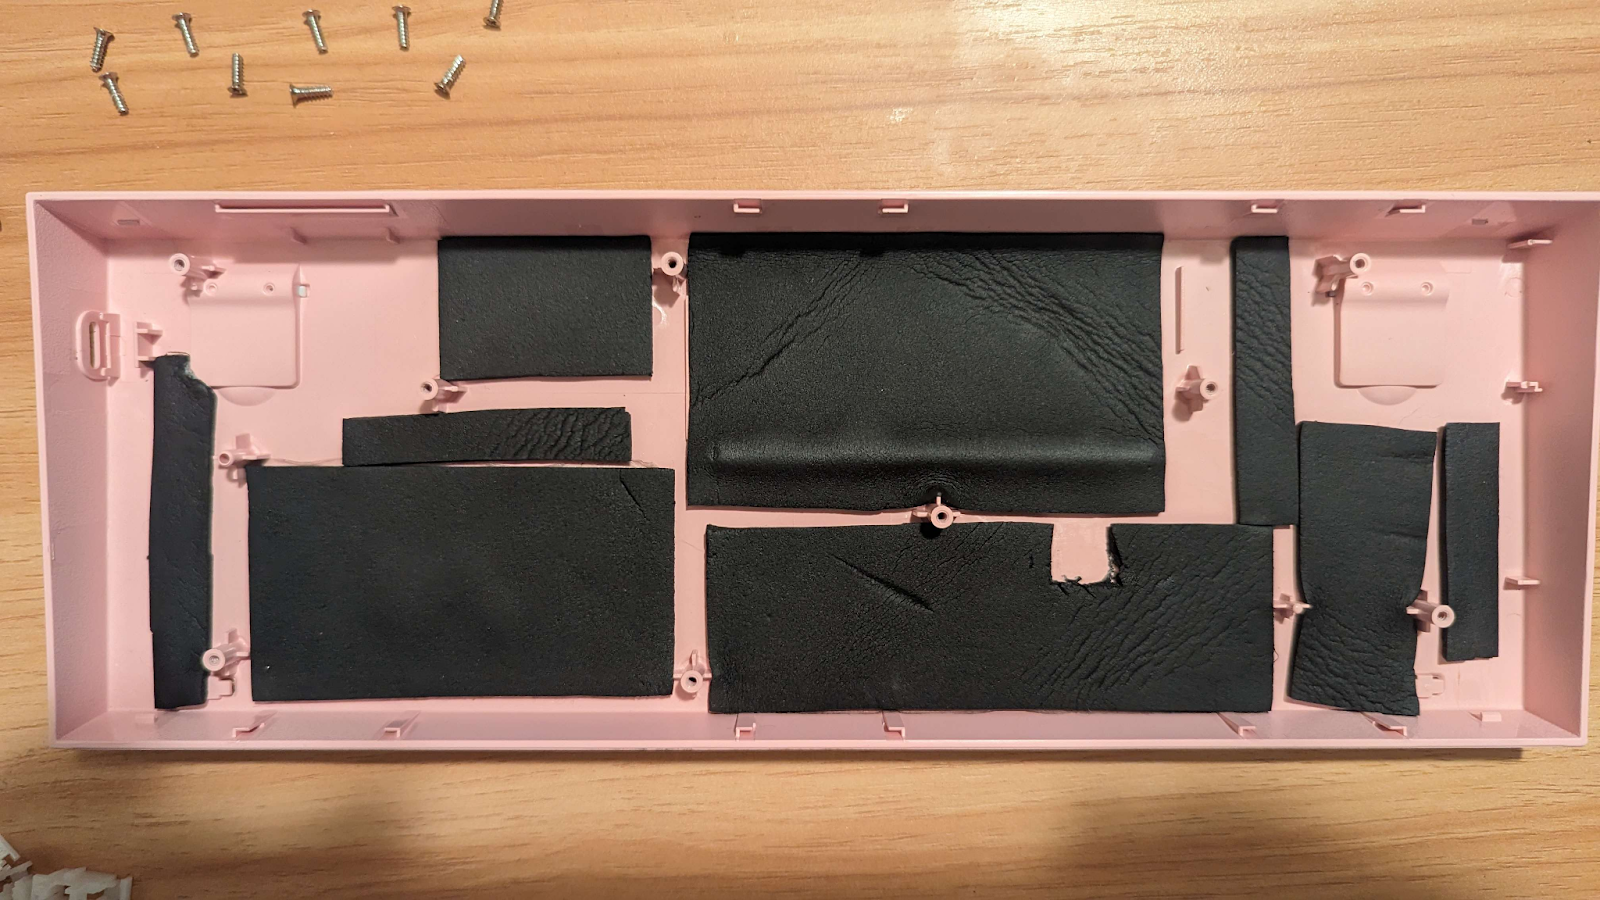
Another popular mod to help with dampening is to add PE foam that often will come wrapped around your keyboard as you open the box. You can place it between the PCB and the top plate while poking holes into it for each switch and the stabs. Helpful tip would be to do the 4 corners first. That way you can use 4 switches to hold the foam in place while you do the rest without it sliding all over the place. Be sure to cut the foam to size so that there isn' t any overhang.

Step 8: Reassembly and Cable Upgrade
Now reassemble your newly modified mechanical keyboard and if you’d like, add a new shiny coiled cable to finish it off.
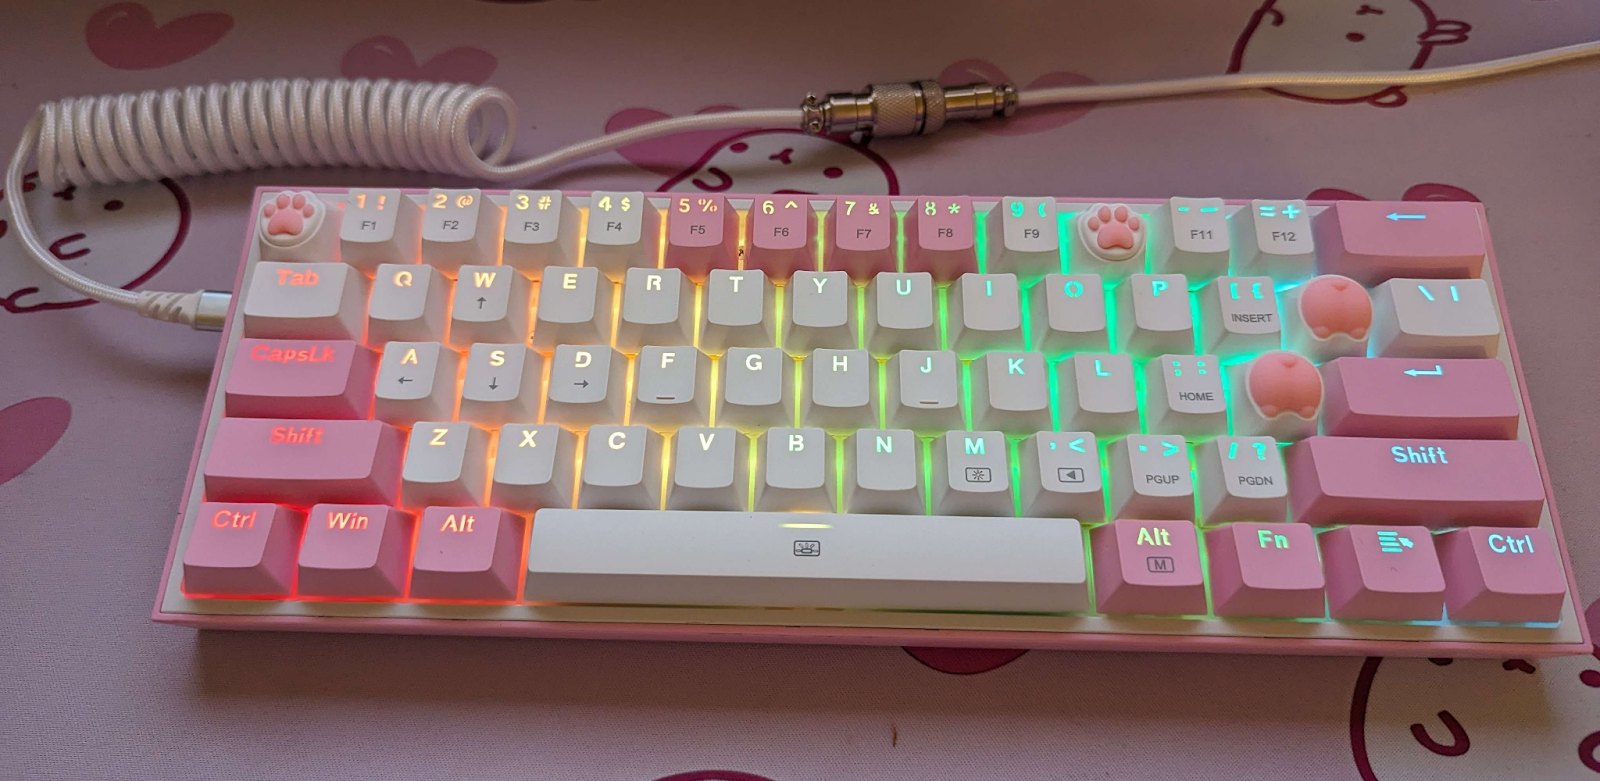
The Transformed K617 Fizz
When all's said and done, we’ve now taken a bone stock pink K617 Fizz and done many of the more common modifications to it and it now feels very smooth and creamy one may call it. The Bullet-S switches make the board sound quite poppy and the keys are easy to press with light force. I might switch up the keycaps in the future with some sort of cherry blossom themed ones that are thicker walled. Due to the dampening we added, the keyboard doesn’t have that painfully hollow sound even when you tap on the bottom of the case. I’m going to play around with this setup for a couple weeks and make a decision on if these switches need to be hand-lubed or not. I’m quite happy with how this board turned out!
Get the FIZZ K617 Keyboard here.
Get the KUMARA K552 Keyboard here.
Redragon K530 Modding Guide
Get the DRACONIC K530 PRO Keyboard here.

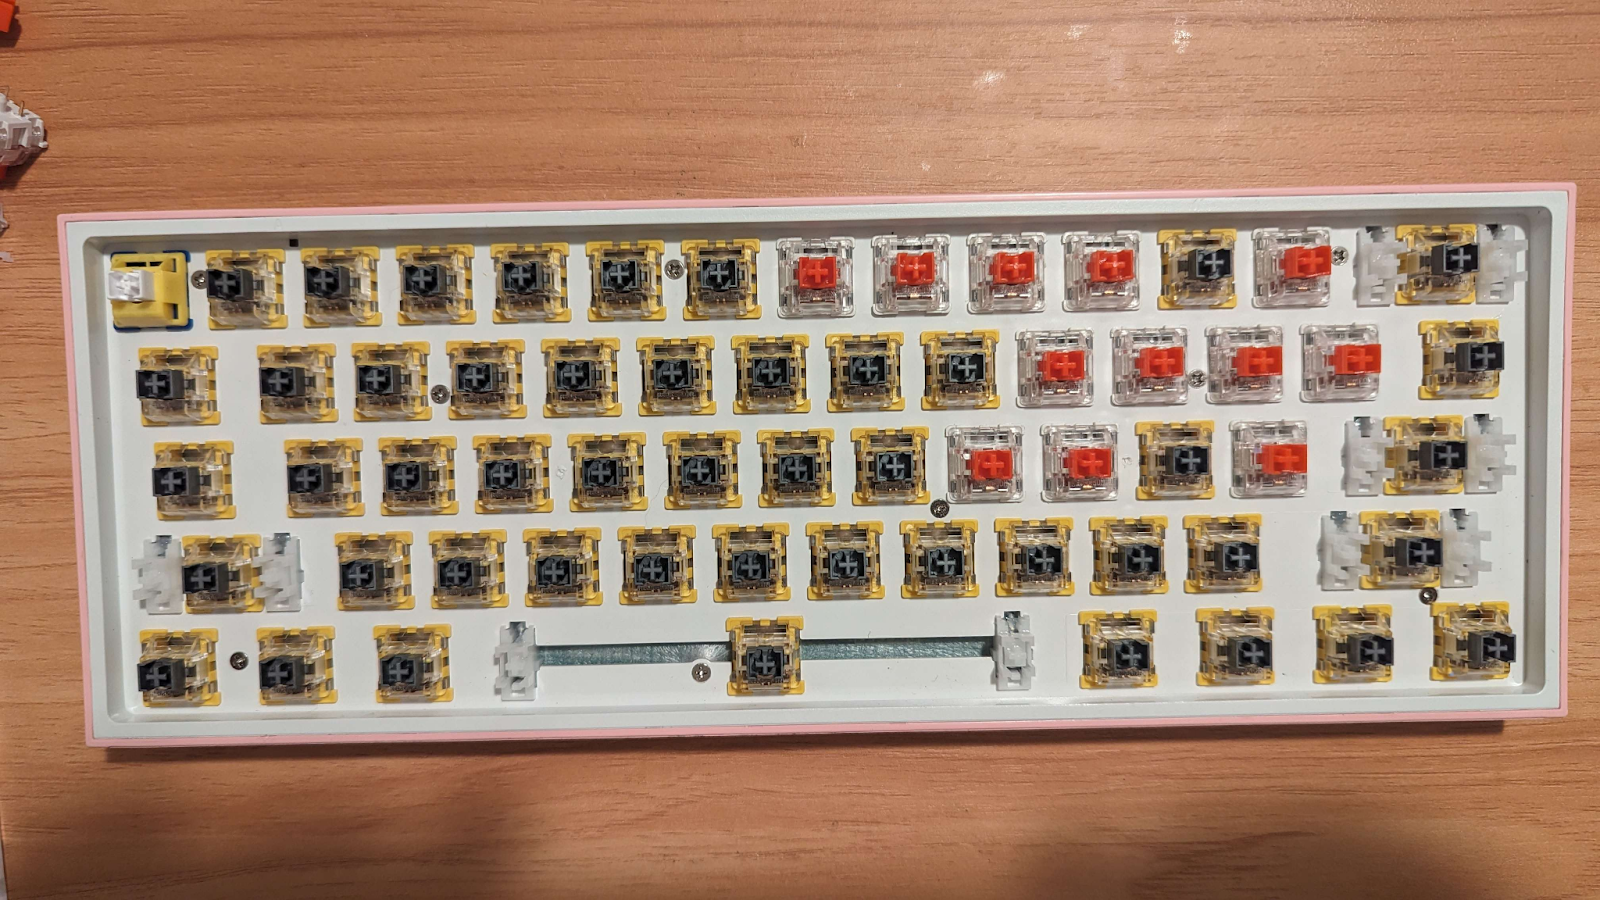
Having experience in building two keyboards and being familiar with the keyboard modification process. For this project, I specifically chose to customize the Draconic K530 Pro keyboard and paired it with the A113 Bullet-F Wukong switches.
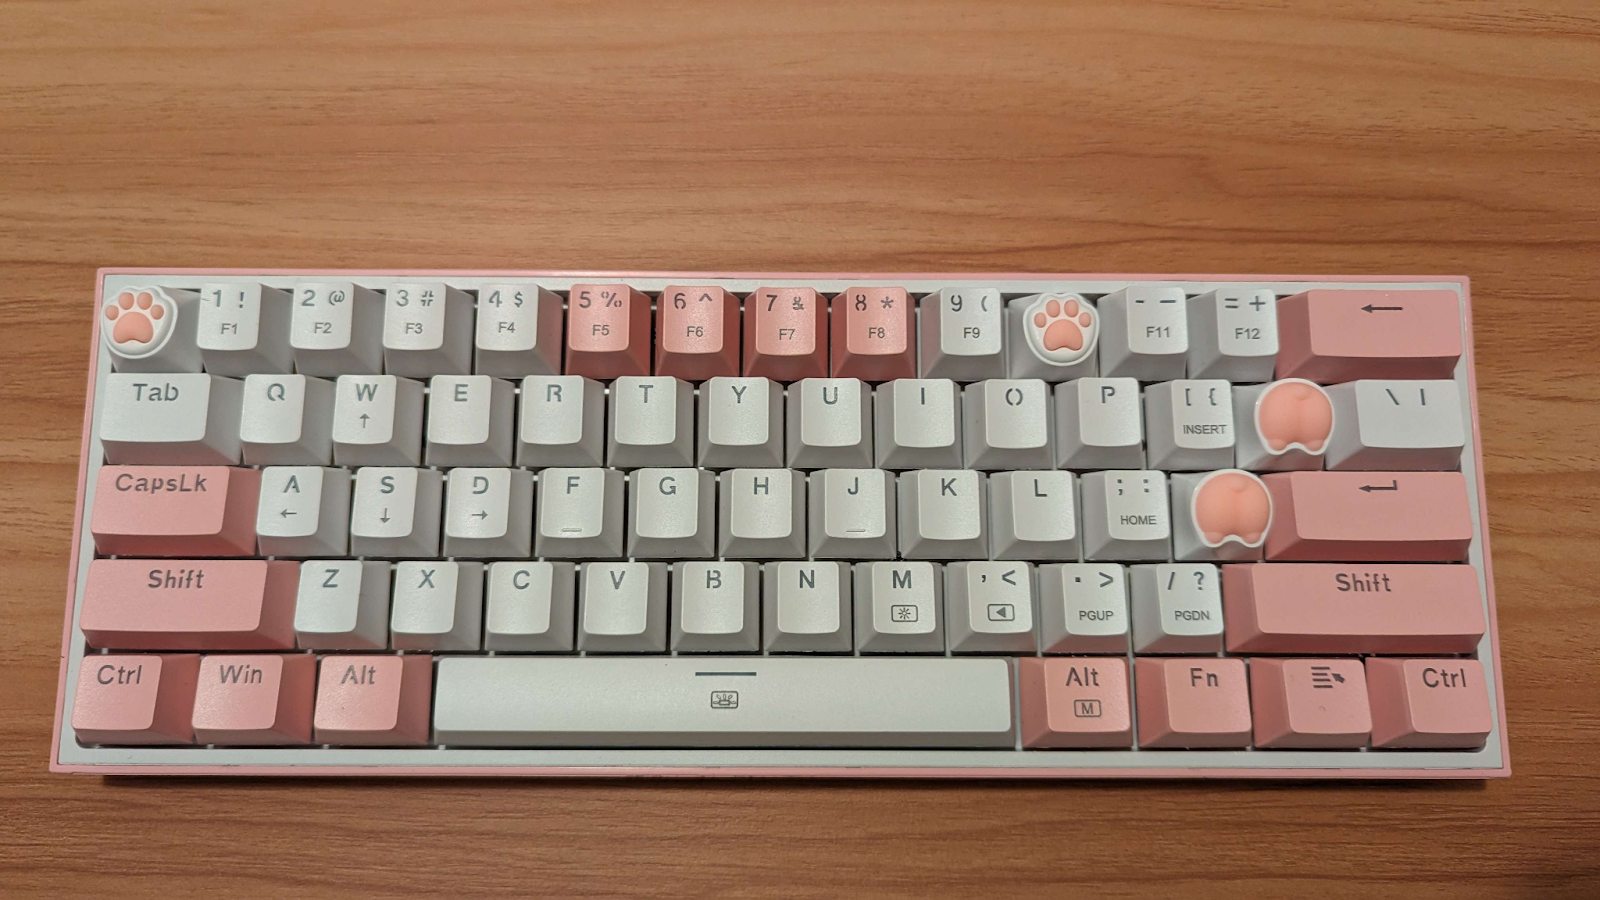
The Draconic K530 Pro, priced at $59.99, is an impressive keyboard offering brown, red, or blue switch variants in sleek black or clean white. I opted for brown switches with a 55g operating force, providing a softer, gaming-friendly feel. The keyboard supports USB for charging and regular use, and its typing sound is naturally muted, a feature we'll explore later.
In the package, you'll find stickers, an instruction manual, four replacement switches, a USB cable with a right-angle USB-C, and a USB C with a USB A adapter. Additionally, there's a quality keycap pulling tool.
I also acquired Wukong switches, an automotive sound deadener foam mat (priced at around $20), and JRX 205 G0 lube. Automotive insulation, like Kilmat padding, is a common choice, and you can consider reusing the foam that came with your keyboard.

My first step was to open the keyboard to understand its internals. I started by carefully removing the keycaps, preserving their order using a reference photo. The keycap pulling tool, though effective, slightly marred the matte surface, highlighting the importance of a quality wire-based keycap puller.

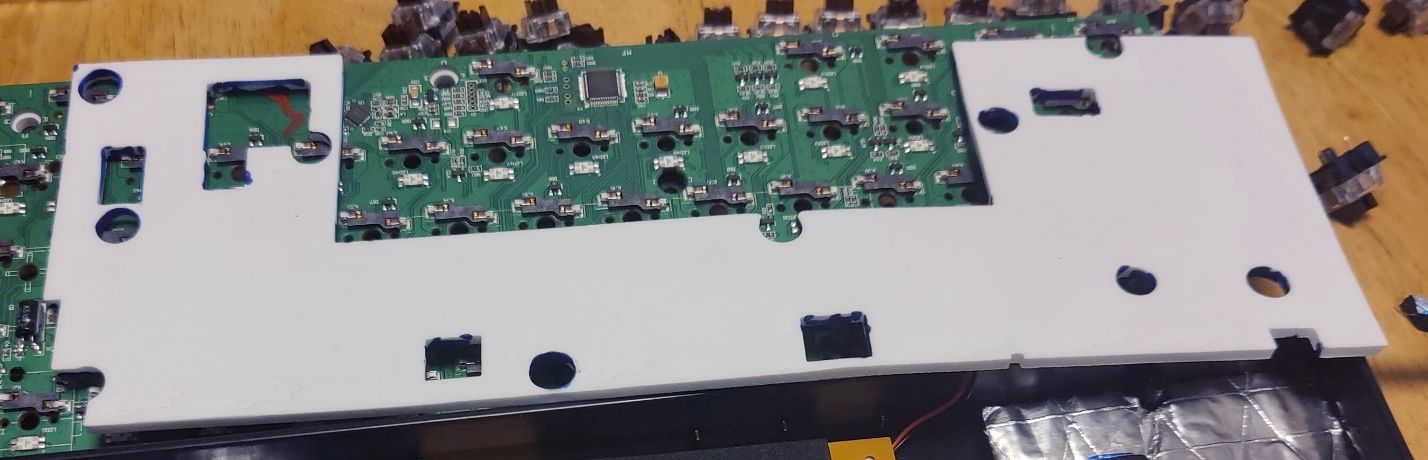
Afterward, I proceeded to remove the switches using a metal switch remover tool, a task more time-consuming than expected. Following this, I unscrewed the keyboard using a small Philips screwdriver. The keyboard's user-friendly design avoided the need for removing all switches unless a full lubrication process was intended.
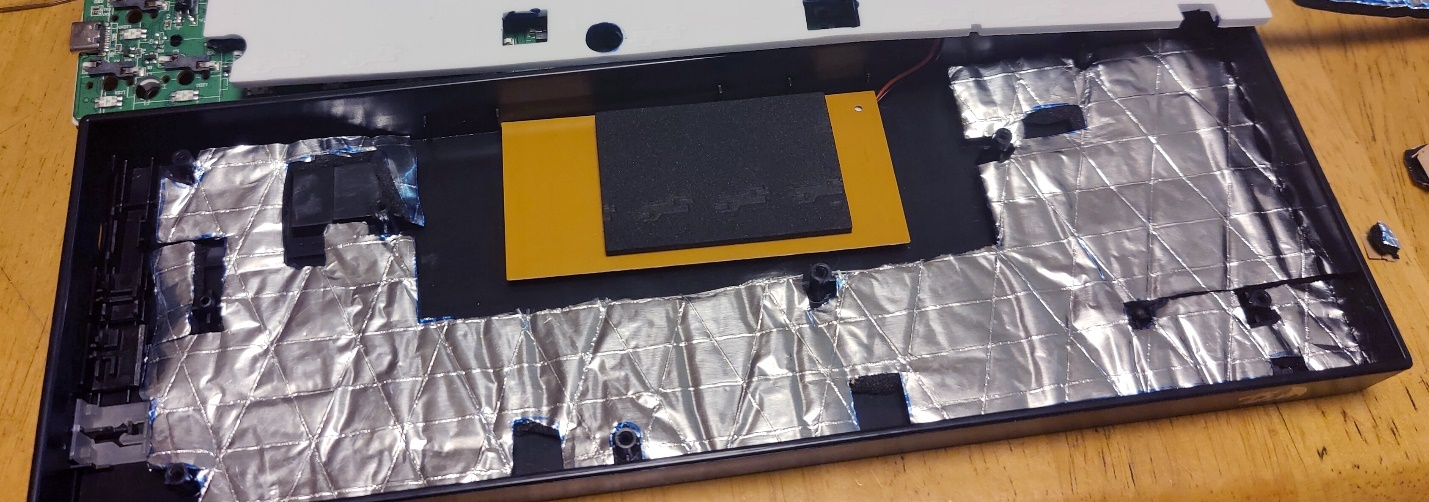
The model featured a USB connection, a 2.4GHz wireless dongle, and Bluetooth, indicating the presence of a battery. Care was taken during the opening to avoid damaging the wire connecting the battery to the board. The keyboard even came with its foam pad, contributing to its acoustic profile.
Foam Customization
To optimize the keyboard's acoustics, I carefully cut and added automotive sound deadener foam. This foam filled the empty spaces, enhancing sound insulation. I traced the existing foam to create a template for the new layer, ensuring a snug fit.
Tape Mod Experiment
Intrigued by the "Tape Mod," I used painter's tape to alter sound waves, achieving a slightly muted keypress sound. The process involved stretching tape strips over the PCB, being cautious not to tape over the battery wire. After pressing the tape down and trimming the edges, I secured the keyboard back together. Despite a minor unevenness, subsequent tests confirmed no adverse effects.

Switch Replacement
I decided to experiment with a mix of brown and Wukong switches for a personalized typing experience. Letter and number keys retained brown switches, while the remaining 15 keys featured Wukong switches.
Lubricating the Switches
Despite limitations with the switch opener, I successfully lubed the switches for a smoother action. The lubrication process involved applying lube to the plunger's sides, significantly reducing resistance in both types of switches.
After a quick test with four keys, I confirmed subtle differences in feel between lubed and unlubed switches. Following the test, I placed the keycaps back on, noting that the matte finish required a high-quality puller to avoid any potential damage.
Carefully installing each switch, I ensured they were straight to avoid bending pins. Although one pin needed adjustment with needle-nose pliers, it seated back into the keyboard without issues.
After securing the keycaps, the fully assembled keyboard underwent testing. Although unconventional, the order of testing ensured everything worked perfectly, providing confidence in the successful modding process.
As for cost, let’s add it all up:
Bottom Line
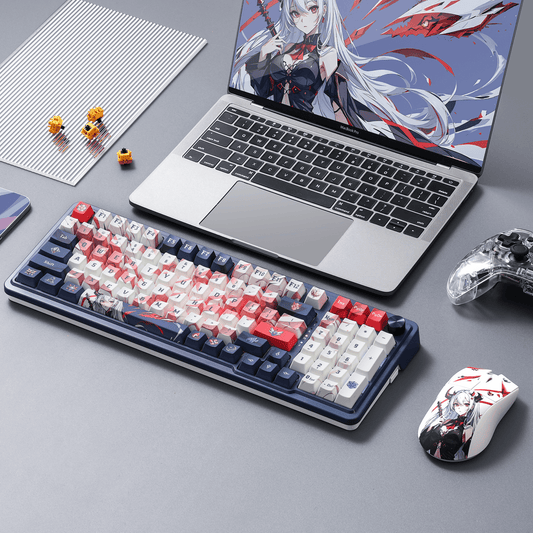
In summary, a modded keyboard is a customized and personalized version of a standard keyboard, typically a mechanical one. Keyboard enthusiasts and users with specific preferences take their keyboards and modify various components to enhance their performance, aesthetics, and overall typing or gaming experience.
Modifications can include upgrading keycaps, switches, stabilizers, and even soundproofing the keyboard to reduce noise. Some enthusiasts may also opt for custom USB cables to add a unique touch to their setup.
Modded keyboards reflect the individuality of their users, with each modification serving a specific purpose, whether it's for improved keypress feel, reduced noise, or purely for aesthetic appeal. The world of modded keyboards offers endless possibilities for customization, allowing users to create a keyboard that perfectly suits their needs and preferences.